Instructions
Getting Ready
- Go to all-hw.com and open the Boards page. Choose the board you need and book it.
- Visit the Connection and Tools page and click the “Download Demo Project” link to download the archive with the project.
Setup Connection
To work with the board, you first need to configure your IDE:
- Get the required target information from the Connection and Tools page: IP address and port.

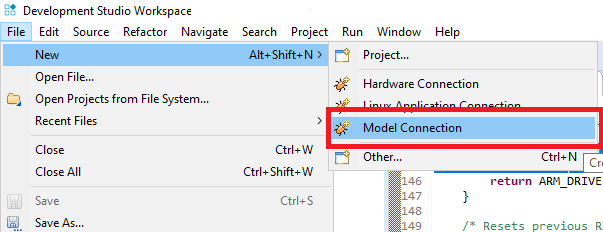
- Create the debug connection to a model and follow the steps suggested.
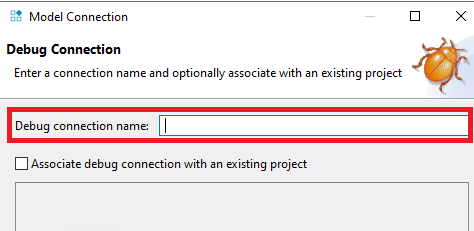
Specify debug connection name:
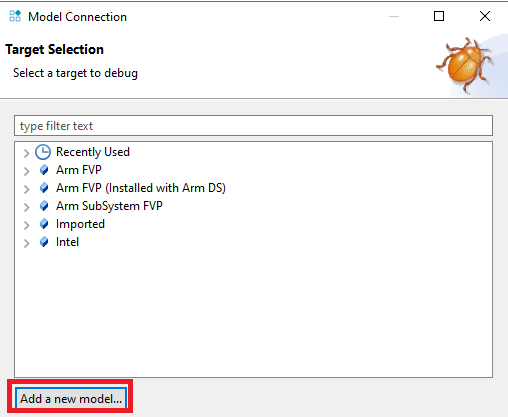
- Add a new model.
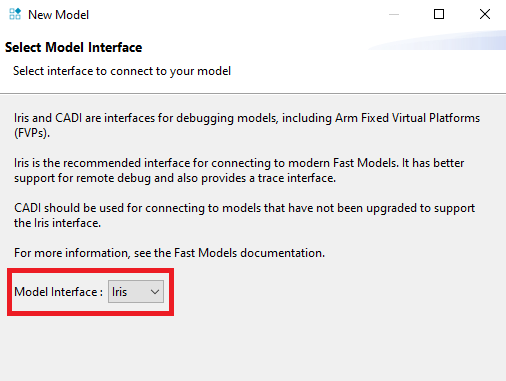
Choose Iris model interface.
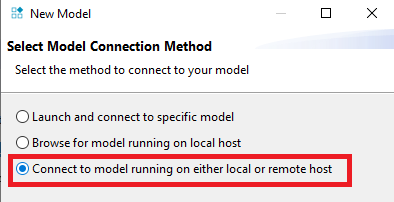
- Select model connection method.
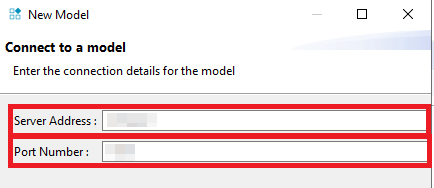
Specify IP-address and Port.
- Edit configuration for the created debug connection.

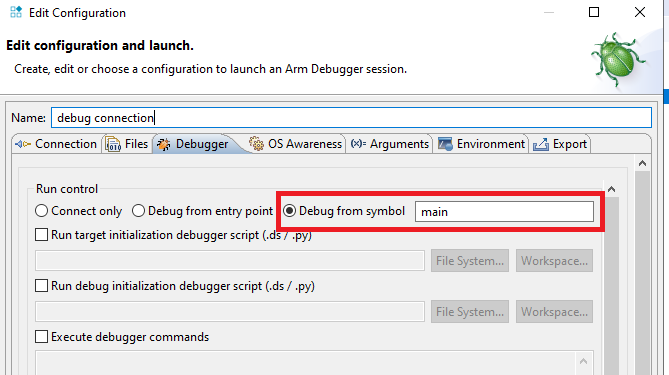
-
Import the downloaded and extracted project and build it.
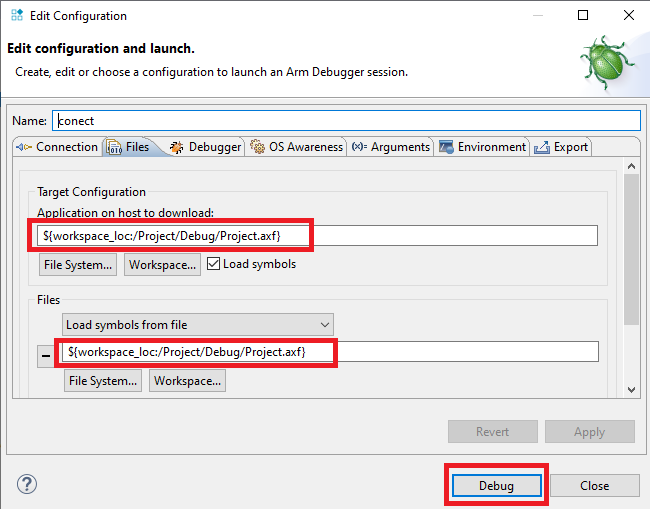
-
Specify files and click “Debug”.
It can take 2-5 minutes after the clicking the “Debug” button. We are currently investigating this and working on a solution to speed up the process.
- The setup is done and you can now try the remote debug session: add breakpoints, watch expressions, etc.
The duration of the session may be limited by the board owner. For example, the owner may choose to set a maximum of one hour per session. When the session ends, the following message will appear in the Commands console.

You can interact with the board on the Video and Interaction page:
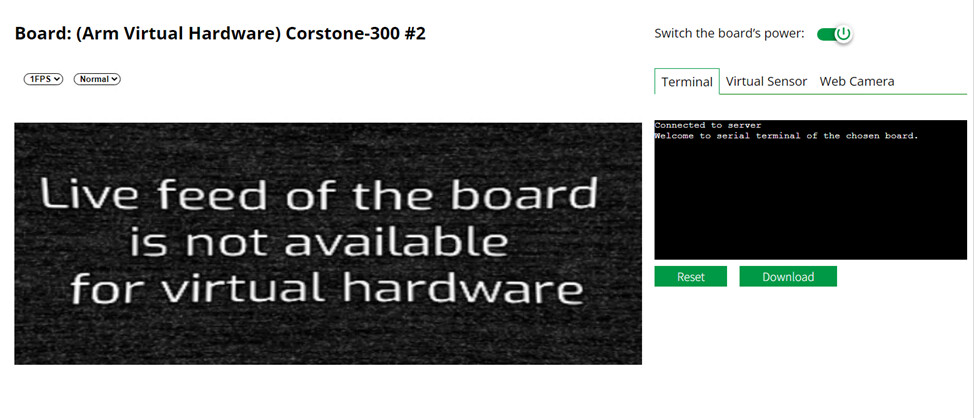
Please note that there are several nuances in work with UART when the model for debugging is used. If the debugging program is completed or paused, and the user is trying to enter data into the console, the UART becomes inactive and may cause an error message when the debugging program is started. To solve this problem,
- Interrupt the debugging connection.
- Power off then power on the board on the Video and Interactions page.
- Establish a debugging connection and refresh the web service page.
The problem is solved, go on working with the UART.